Appendix: Installilng Qt SDK
You can download the Qt SDK installer from following url:
https://www.qt.io/download-open-source
Click on “Download the Qt Online Installer”. It is at almost the bottom of the page.
Click on “Qt Online Installer for Windows” link.
Then, you’ll get qt-unified-windows-x64-4.5.2-online.exe (Maybe the version number is different).
Now, launch the installer by double-clicking.
In Figure 9, click on “Next” button. If you are connecting internet where you need proxy setting, Please press “Setting” button before you proceed, to setup proxy setting.
In Figure 10, click on “Skip” button. If you already have Qt account, or want to create a new Qt Account, You can fill in “Login” or “Sign-up” form.
In Figure 11, click on “Next” button. Downloading meta data about files to install will start. This will take some time.
In Figure 12, enter the directory where you want to install Qt, and click on “Next” button.
In Figure 13, check on Qt / Qt 5.5 / msvc2013 64-bit, and click on “Next” button.
In Figure 14, read the license, check on “I have read and agree to the terms contained in the license agreements”, and click on “Next” button.
In Figure 15, click on “Next” button.
In Figure 16, click on “Install” button.
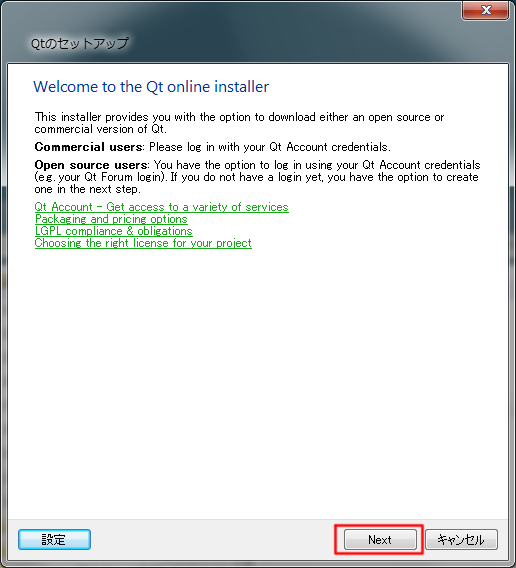
Figure 9 Qt Installer welcome page
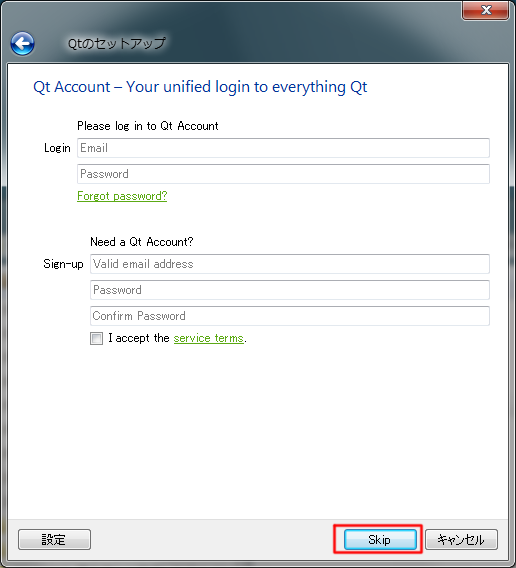
Figure 10 Qt Account page
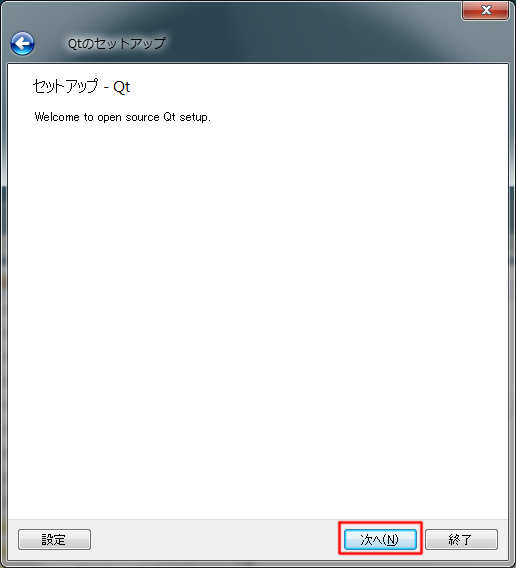
Figure 11 Qt Installer setup page
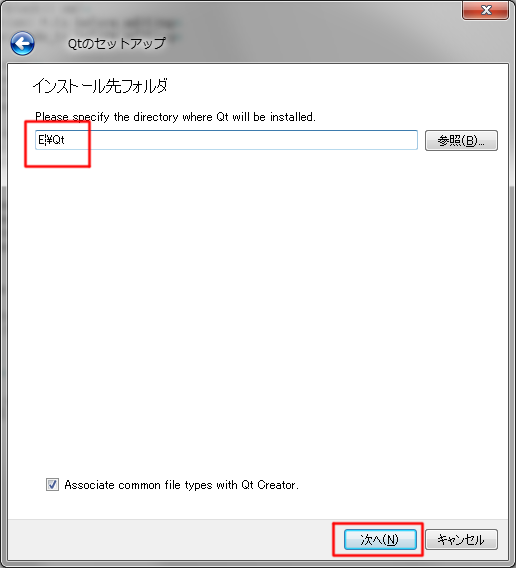
Figure 12 Qt Install folder select page
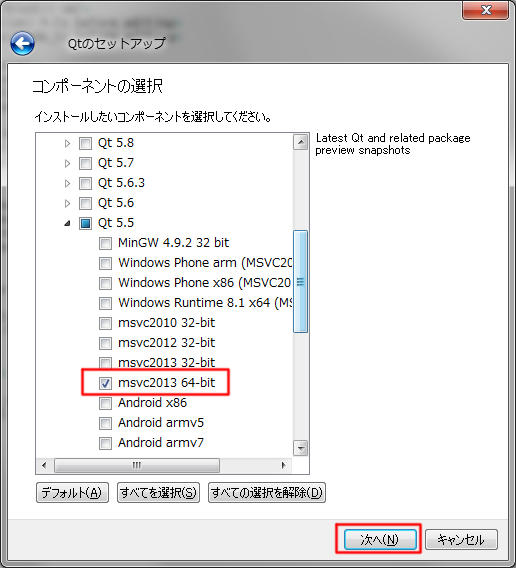
Figure 13 Component select page
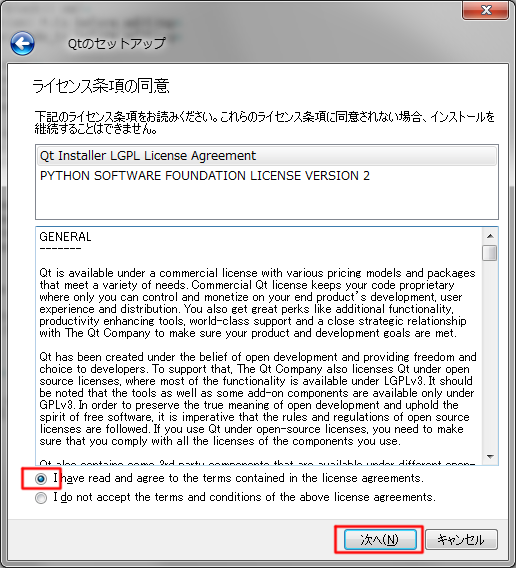
Figure 14 License agreement page
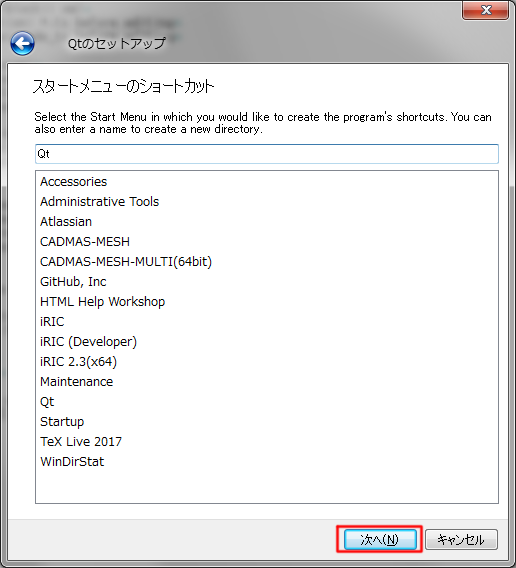
Figure 15 Start menu shortcut page
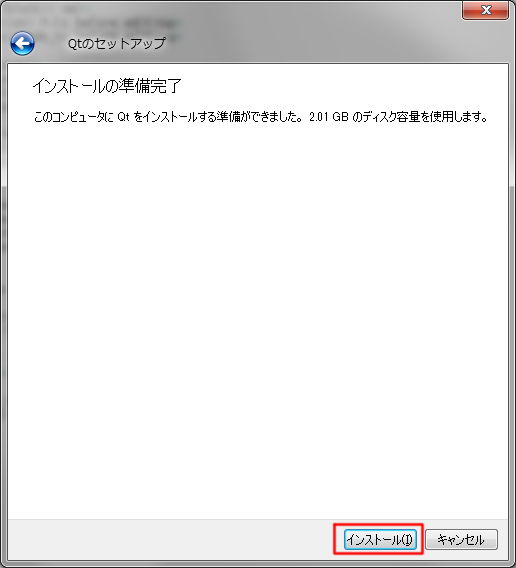
Figure 16 Install ready page